Visit My Online Store

Tuesday, November 17, 2015

Quilt Festival and Market


 FAll Quilt Festival and Market

I have been very busy since returning home from Houston, filling orders and getting everything organized again. I thought I'd better post about the trip before I forget everything.


HOUSTON or BUST-

My friend Mary rode along with me on our 2 day journey from Jordan to Houston.Here are some highlights.
Here we are in the van, it is very full as you can see.

Made a stop in Butler Mo. because My Great Grandma was a Butler and I'm pretty sure that someone in our family founded the town.
After Spending the night in Nevada Mo. we awoke to a this great Sunrise.
 Sign of a beautiful Day ahead.
Gas is always cheaper in Texas, Yeah.
We finally made it to Houston and to the Convention Center.
This is what it looks like before everything is set up.
We found our booth spot and are unloading the van.
We got the Quilts set up, and the tables draped.
Mary looks pretty excited to start setting up!
Making progress but there's alot more tubs to un pack.
Finally Finished! Ready for Quilt Market to begin.
Well, we are anyway,

Everyone trying to get done in time.

New fat eighth bundles with Perle Cotton thread.

We had a great show. Same time next year.


Wednesday, September 9, 2015

Fabulous Woolie Pumpkins

I've been keeping very busy getting ready for fall. I'll be vending at some Quilt shows here in Minnesota next month.
Oct 3rd. Wow Quilt Guild, Plymouth MN.
Oct. 10-11th  St. Cloud Heritage Quilters, College of St. Benedict, St. Joseph, MN
Oct. 16-17th  Quilters Sew-Society, Rochester, MN
Oct. 24-26th International Quilt Market in Houston TX.

www.TracyTrevethan.com

A bit of a nip in the air this morning makes for perfect weather to create some yummy "Woolie Pumpkins". I recently dyed some gorgeous wool colors that just beckoned to become a seasonal stuffed squash. This pattern will be available soon, included in a kit with the wool.
Cutting out sections
1. Cut out 7 sections for your stuffed pumpkin.
2. Cut out 2 stem pieces from the hand dyed wool fabric.

3. Cut out 4 leaves from a green hand dyed wool fabric.
4. Sew the pumpkin sections together in pairs. Stop 1/4 " from the end.


5. Sew all the section pairs together, then add the 7th section.  You pumpkin will look like a deflated beach ball.

6. When sewing the last seam leave an opening about 4-5 inches to add your stuffing.

7. Sew across the top and bottom to close up any holes.

8. Stuff that baby til you think it's full, then stuff it some more.

9. I added a big rock to give it a little weight. This makes it more stable. Add more stuffing after you place the rock in the middle towards the bottom.
10. Sew your seam opening closed by hand.

11. Sew the 2 stem pieces together using about a 1/8" seam. Leave the bottom open. 
12. Turn the stem inside out and stuff.

13. Sew 2 leaves together, about 1/8" from the edges. 2 will give your leaves more dimension. You can use a fusible interfacing to hold them together while you sew.


14. Add  veins with either stitching by hand or machine.

www.TracyTrevethan.com15. Hand stitch your stem to the top of your pumpkin.
16. Hand tack your leaves down. (with just a few stitches)Voila! Gorgeous Gifts to give or just display in your own home.


Monday, August 17, 2015

New Beginnings

I've been thinking about re-starting this blog all summer! Now summer's end is right down the road. Where did all that time go?
Well, I have been busy. After spring quilt market I decided to expand my hand dyed wool line and have developed about 25 new colors. They will soon all be in my online store.
I am also adding to the assortment of six pack wool collections. I'm so excited about this. The colors are all so beautiful.
 Here are some colors from the new Seaside Collection.
I also am working on some new Patterns. This is an example from my "At The Lake", work in progress.
Crappie in progress

Pumpkinseed Sunfish in progress.

You can see I have alot of work to finish, We'll talk later.
Happy Stitching!

Wednesday, December 14, 2011

Love these Fingerless Gloves

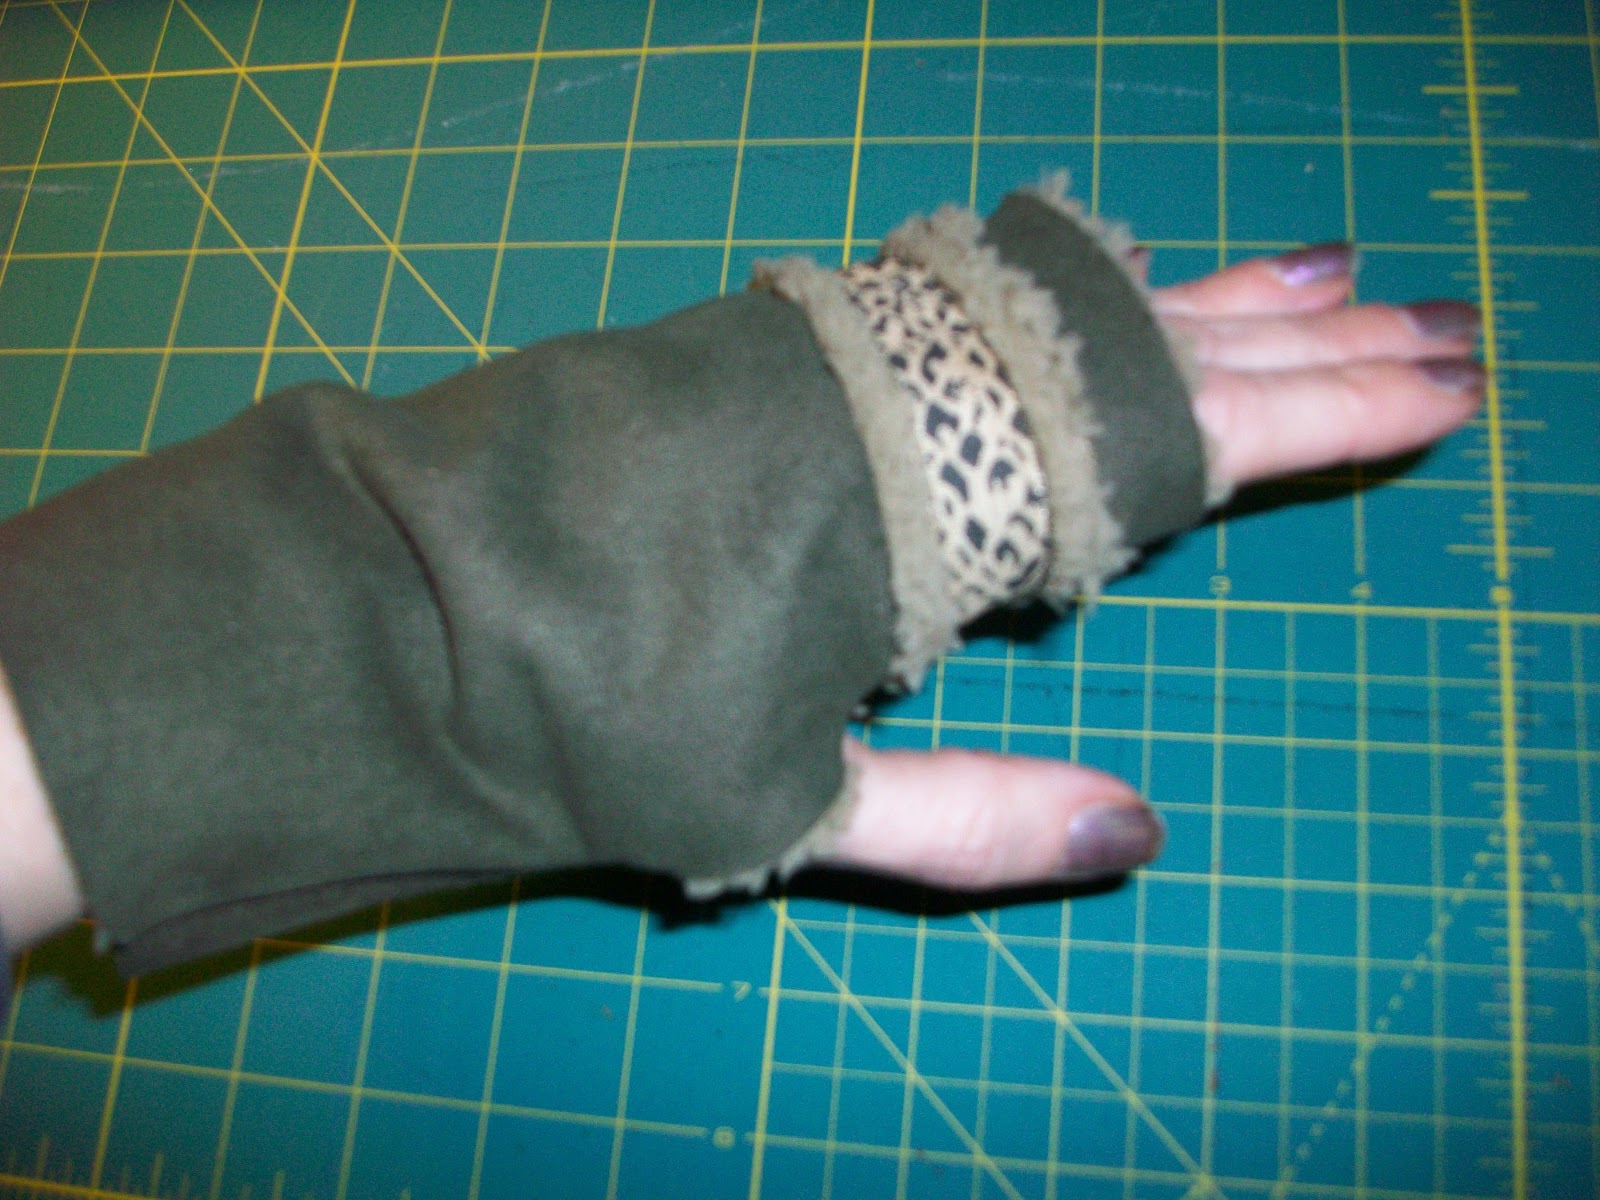
I started making fingerless gloves and can't stop. They are so much fun to decorate. I can be creative and get something fun made in one evening.
I'm using Kwik sew pattern #3806.I like my gloves to be a little shorter.


This is the full size pattern piece. I folded the bottom up to make the gloves shorter.
After cutting out the pieces I like to add some decoration.


After decorating, sew up the side seam. Leave open the space between the markings for your thumb.


Enjoy your new Gloves, and make some for holiday gifts.

  This is the next pair I made. I recycled an old cashmere sweater, added some velvet ribbon and a vintage button. Voila! fabulous, luxurious hand warmers.